Creating Proportional Shapes
TouchDraw offers a great amount of flexibility when creating shapes or figures in a drawing. A touch and drag action in combination with a selected drawing tool results in the addition of rectangles, squares, circles, ovals, and additional shapes of any size and/or proportion to a drawing. The Function Key Feature can be used when adding a shape such as a circle or square to your drawing to make certain it retains its proportions and only changes in size. This prevents the shape from becoming a rectangle or oval.
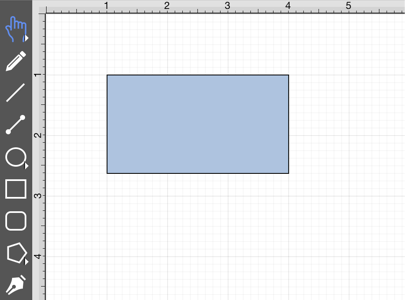
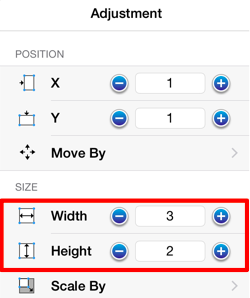
For example, if you select the Rectangle Tool and insert the shape into your drawing, it can either be a square or rectangle depending on where you touch and drag on the Drawing Canvas. Dragging toward the bottom right results in a rectangle with non-proportional Width and Height measurements, as shown below.
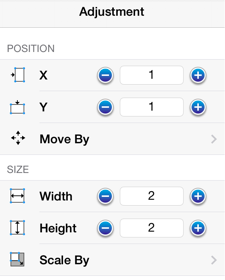
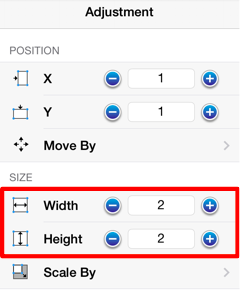
By enabling the Function Key Feature, you can create a proportional shape. In the example above, a perfect square would be created when this feature is enabled and the same touch/drag action is performed. As shown in the Adjustment Menu, the Width and Height of the square are proportionally the same.

TouchDraw constrains the Width and Height to generate a proportional shape when the Function Key Feature is enabled. This tutorial will show you how this feature can be used to create a proportional shape.
We will be using the Rectangle Tool for this demonstration. Follow the steps below to learn how to use the Function Key Feature to create a proportional shape in your drawing.
-
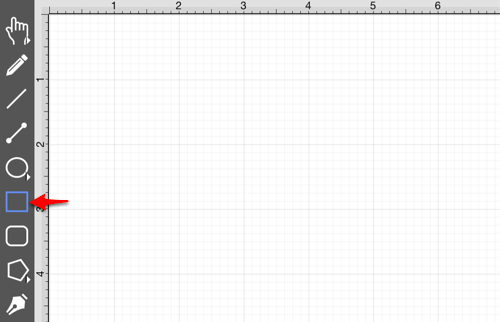
Select the Rectangle Tool in the Drawing Toolbar.
-
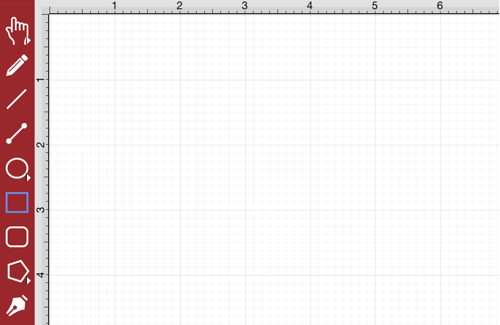
Next, you will need to enable the Function Key Feature. To enable this functionality, hold and press on the lower half of the Drawing Toolbar where no tools are present. After approximately 1 second, the toolbar will turn red as an indication of the Function Key Feature being enabled. It will remain enabled as long as the utilized finger/thumb remains held on the toolbar.
-
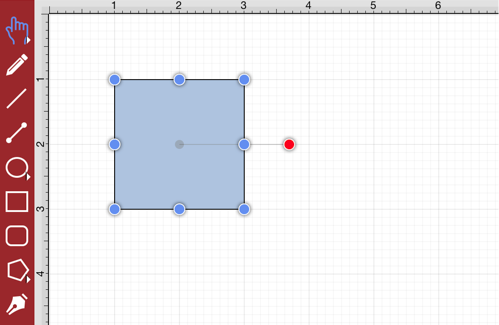
Touch in a desired location on the Drawing Canvas and then Drag downward or in another direction without lifting the utilized finger.
-
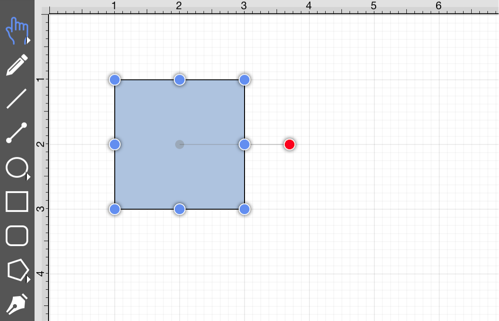
Release your finger once the shape is completed to disable this feature. You will have a perfectly shaped square when finished.
-
To view the Width and Height of your shape, tap on the Adjustment Button to open the Adjustment Menu and its dimensions will appear under the Size section of this menu.